Bike Chain and Gear Relationship Guide
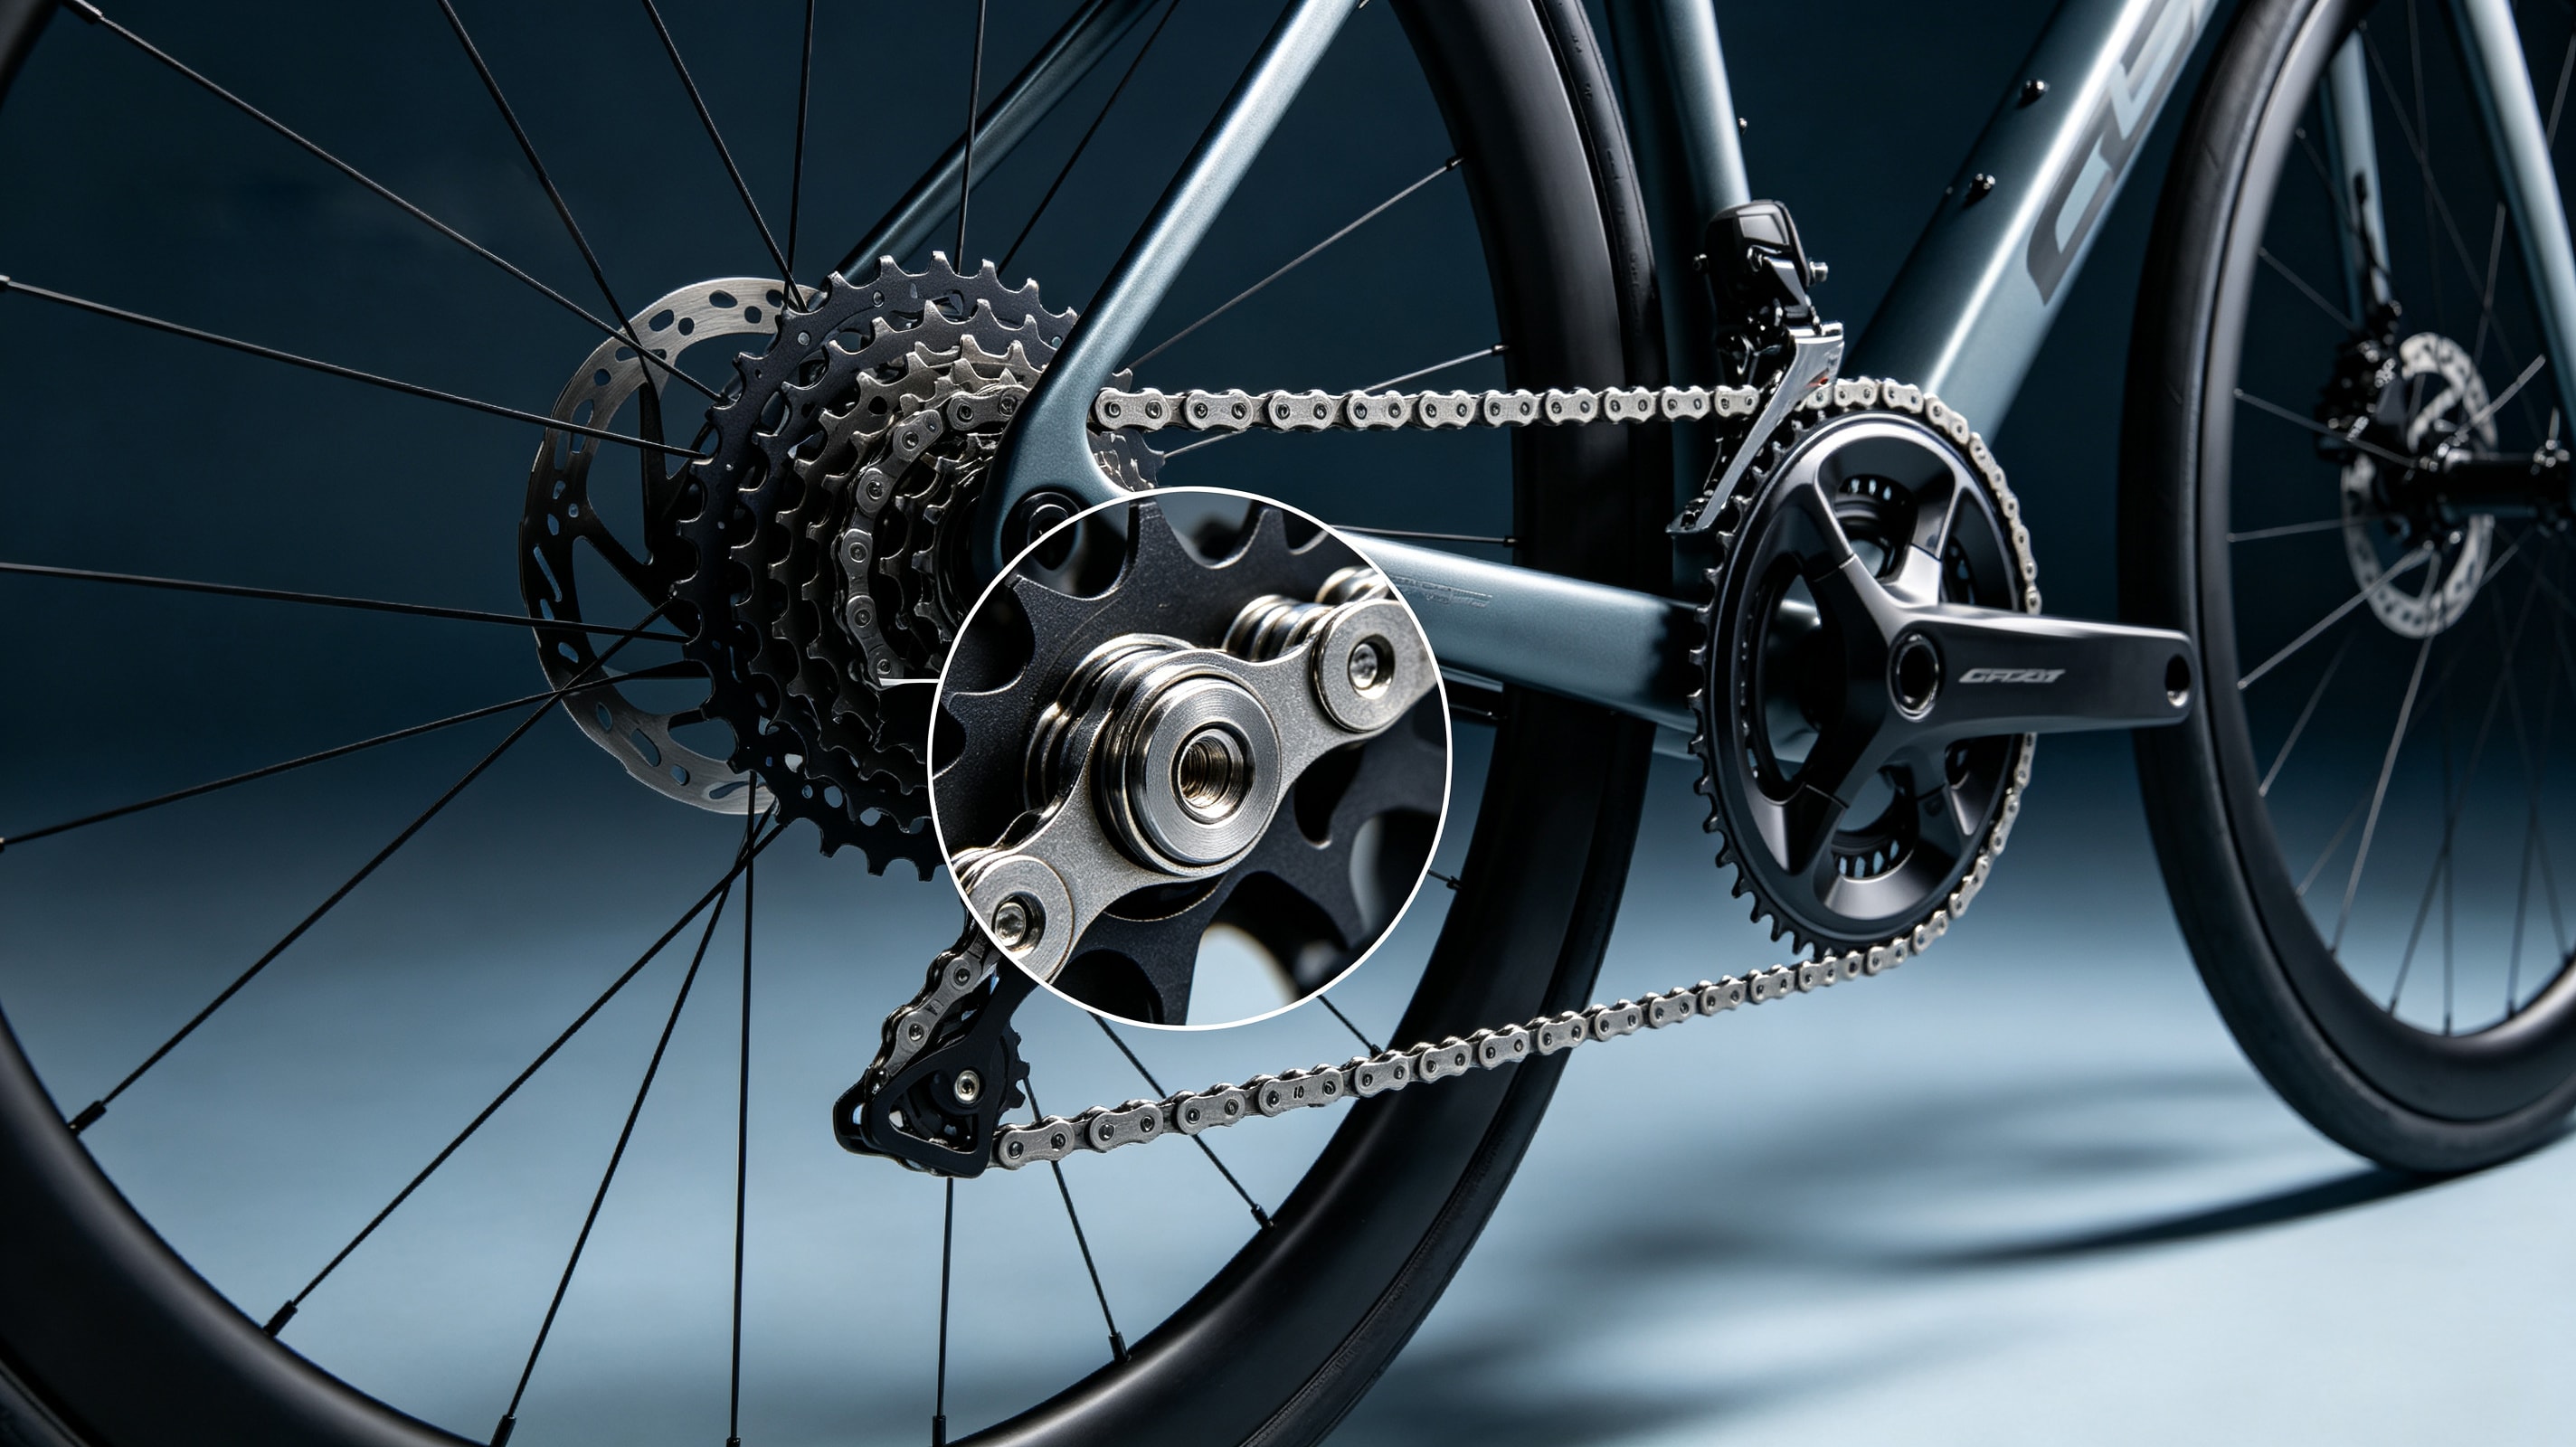
Bike Chain and Gears: A Plain‑English Guide for Everyday Riders
What's the relationship?
Your bike's drivetrain is essentially a conversation between you and the machine. The chain and gears (chainrings and cassette) are the language you speak together.
The big rings attached to the pedals are the chainrings (front). The stack of sprockets on the rear wheel is the cassette (rear). The chain is the belt that transfers your pedalling force from front to back, moving you forward.
Let's break it down into four parts.
1. The Core: How Your “Transmission” Works
The drivetrain's key concept is the gear ratio.
Think of gear ratio as a lever:
- High ratio (e.g., 4) → Hard gear: One pedal stroke spins the rear wheel 4 times. Fast, but requires serious leg power. Great for descents or sprints.
- Low ratio (e.g., 0.65) → Easy gear: One pedal stroke spins the rear wheel less than once. Slow, but feels feather‑light. Perfect for climbing.
Bottom line: speed costs effort, and easy pedalling costs speed. You can't have both.
How to use it daily
- Starting off or climbing: Use the small front ring + large rear cog. Don't worry about speed – save your legs.
- Flat cruising: Pick a gear where your legs spin comfortably without straining – just right.
- Downhill or sprinting: Shift to the large front ring + small rear cog and unleash the power.
2. Physical Fit: Why You Can't Just Grab Any Chain
Width compatibility is non‑negotiable.
More sprockets on the cassette means tighter spacing between them. The higher the speed count, the narrower the chain must be.
Here's a quick look at how sprocket thickness changes with speed:
| Cassette Speed | Single Sprocket Thickness | What it means |
|---|---|---|
| Single‑speed | ~ 1.8 mm | Thick cogs, wide gaps – chain is like a little iron chain, fairly wide. |
| 8‑speed / 9‑speed | ~ 1.6 mm | Cogs get thinner, gaps shrink – chain narrows accordingly. |
| 11‑speed / 12‑speed | ~ 1.5 mm (or even thinner) | Very thin cogs, tight spacing – chain must be extremely slim to fit. |
Why do higher‑speed cassettes use thinner sprockets? To pack more cogs onto the same rear hub width, manufacturers must make each sprocket thinner and reduce the gaps between them.
• 10‑speed cassette → buy a 10‑speed chain.
• 12‑speed cassette → buy a 12‑speed chain.
• Using a narrow 12‑speed chain on a thick 8‑speed cassette: the chain's inner width is too wide – it won't engage properly, causing skipping and grinding noises.
• Using a wide 8‑speed chain on a tight 12‑speed cassette: it simply won't fit between the sprockets – the derailleur may jam or break.
One universal measure: the chain pitch (distance between pins) is always 12.7 mm for all modern bikes. So as long as you pick the right speed, the chain will physically install.
3. Shifting Dynamics: How to Shift Like a Pro
Shifting isn't something you do while parked – it's about moving with the flow.
Why you must pedal while shifting
The chain needs to be rotating to climb onto the adjacent sprocket. Think of a conveyor belt – things need to move to change lanes. If you click shift while stationary and then stomp on the pedals, the chain can jam mid‑air or fall off entirely.
Cross‑chaining: the big no‑no
Avoid these extreme combinations at all costs:
- Biggest front ring + Biggest rear cog (big‑big)
- Smallest front ring + Smallest rear cog (small‑small)
These angles put the chain at an extreme diagonal. It's like walking a steep slope in high heels – the chain, cassette, and derailleur are all under unnatural stress. The result: sluggish pedalling, loud noise, rapid wear, and even a bent derailleur.
4. Maintenance: How to Make Them Last
Chains and cassettes are consumables. They don't usually snap – they stretch.
The “stretch” effect
Wear inside the chain pins causes the gaps between links to increase, making the whole chain slightly longer. A stretched chain no longer sits at the bottom of the sprocket teeth – it rides on the tips. Over time, this grinds cassette teeth into sharp “shark fins”. When you apply power, the chain will skip – a sudden, unsettling slip like hitting a false step.
The most cost‑effective move
A chain costs a few bucks; a good cassette can run you hundreds. If you replace the chain as soon as it shows a little stretch, the cassette can last for years. Let it go too long, and you'll be replacing chain, cassette, and chainrings all at once – a costly affair.
When to replace? A bike shop can check with a chain tool. Generally, if stretch exceeds 0.75%, it's time. You can also measure: 10 full links should be 127 mm. If they measure over 127.6 mm, your chain is due for replacement.
The right way to lube
The goal isn't to make the outside shiny – it's to get the lubricant inside the pins and rollers.
Leftover lube on the surface attracts grit, turning into a grinding paste that speeds up wear. A dry‑looking but internally lubed chain is the healthiest.
Top Practical Tips
- Shift before you need to: downshift early before a climb – don't wait until you're grinding to a halt.
- Light hands, light feet: ease off the pedals during shifts to let the chain move smoothly.
- Listen to your bike: a quiet chain is a happy chain. If you hear clicking or grinding, it's either dry or worn – get it checked.
- Park in a neutral gear: leave the chain on a middle sprocket so the derailleur spring stays relaxed, extending its life.
Want to learn how to measure chain wear yourself or replace a chain? There's more to explore.